Design a Business Card
In this business card tutorial we will go over everything from the basic setup of a business card to the design itself. The result will be a professional looking business card that you can print without any worries as to how the final product will look.
STEP 1: Create a New Document
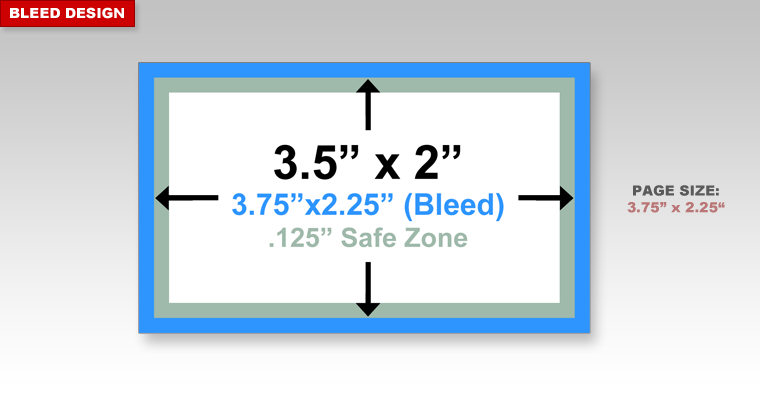
To create a bleed business card we will create a document that is 3.75" x 2.25" with a .125" bleed margin and .125" safe zone. This safe zone will ensure that none of our important content like text will be cut off when a .125" is cut from all sides.

STEP 2: Design Your Business Card
For the design of a business card it is a generally a good idea to have a simple, less busy design. This way people can glance at the card and easily read all of your important information. It is also a good idea to not have any type be smaller than 6pt. Any type that is smaller than 6pt will more than likely be unreadable.
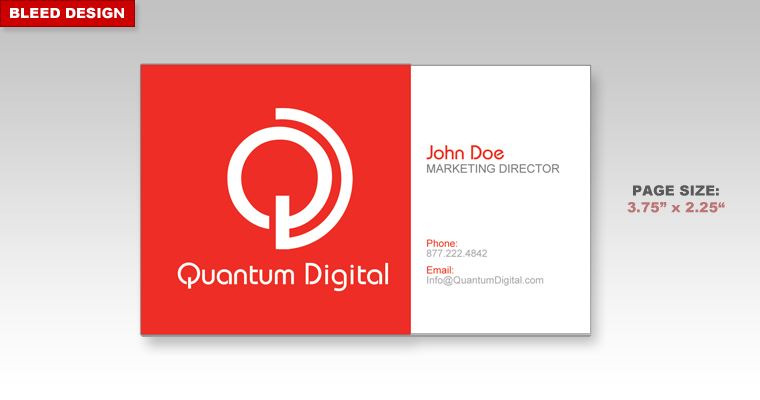
For any background images or colors that you want to print to the edge of the card you will need to make sure they are extended to the edge of the 3.75" x 2.25" card. The .125" safe zone is only for type and other important content you don't want cut off. As you can see in our design below we have a red background that we've extended all the way to the edge and our logo and information is all within the safe zone.

STEP 3: Review and Save
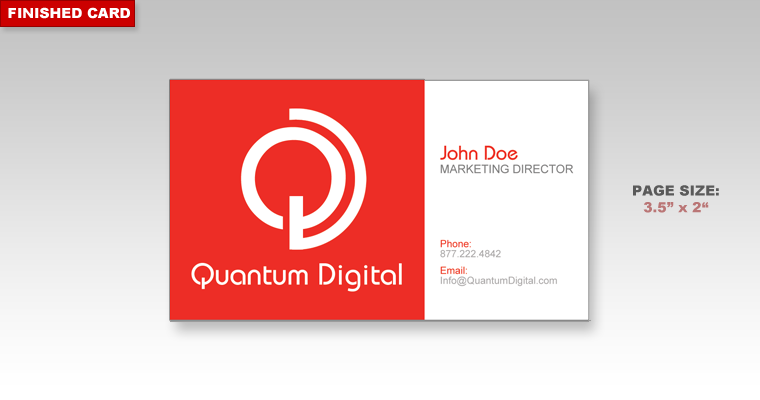
Once your design is complete it is good practice to carefully review your design to make sure none of your important content will be cut off when we trim .125" from the design. Below is an image of our card trimmed to size.

Once you have reviewed your design and everything is okay you can save or export your design to a PDF and upload it through the website. If you have done everything correctly we should be able to begin production on your business card order without any follow up questions or emails.
 Processing...